
- Introduction to Git
- Installation of Git in Windows
Introduction: –
Git is a distributed version control system that tracks changes in any set of computer files, usually used for coordinating work among programmers who are collaboratively developing source code during software development. Its goals include speed, data integrity, and support for distributed, non-linear workflows.
Installation of Git in Windows: –
To install Git on your computer, you need to follow the installation instructions specific to your operating system. Here’s how you can install Git on some of the most common operating systems: –
Step 1: – Download Git Installer
Go to the official Git website’s download page: https://git-scm.com/download/win.

- The website might automatically detect your operating system and provide the appropriate download link.
- If not, you can manually select the download link for your version of Windows (32-bit or 64-bit). Select the 64-bit as it the latest bit.
Step 2: – Run the Installer
Once the installer executable (ending with .exe) is downloaded, double-click on it to run the installer.

Step: -3 Installer Options
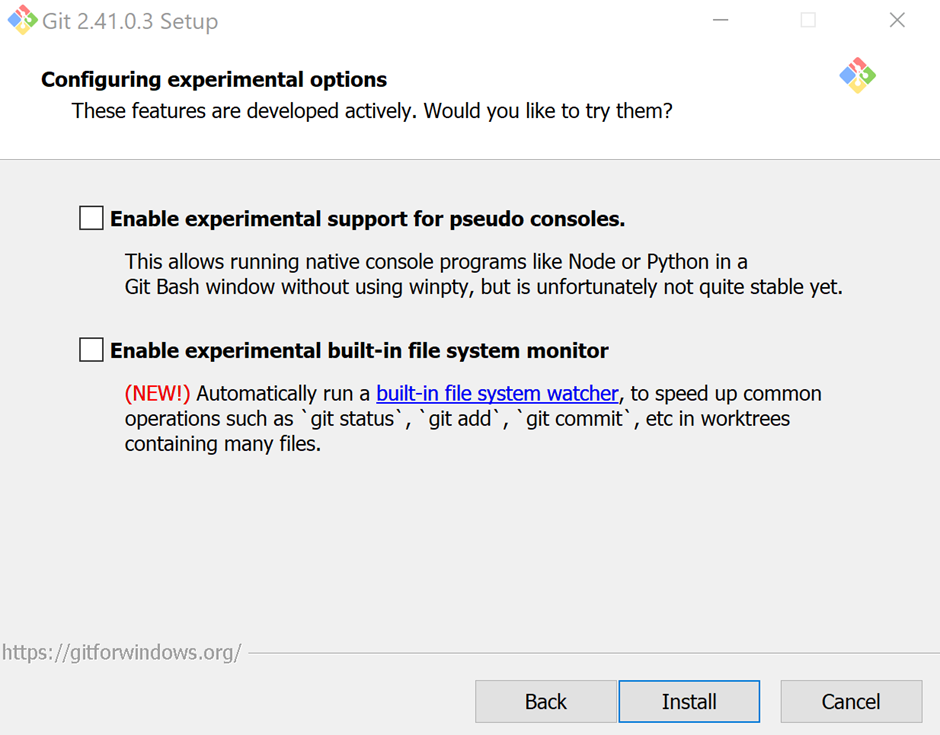
The installation wizard will open. You can follow the steps Leave the default components selected. You can modify these if you’re familiar with Git and know what you need. We can go with next option as we don’t need to do any changes.

Step: -4 Installing
Click "Install" to begin the installation process.
Step: – 5 Completing the Installation
Once the installation is complete, you’ll see a “Completing the Git Setup Wizard” screen. You can leave the “Launch Git Bash” option checked and click “Finish” to close the installer.

Step: -6 Verifying Installation
To verify that Git has been successfully installed, open Git Bash or the Command Prompt and run the following command:

If Git is installed correctly, it will display the installed version.

That’s it! You’ve successfully installed Git on your Windows system. You can now start using Git for version control.