
Generating a personal access token in GitHub involves the following steps:
1. Login to GitHub:
Login to your GitHub account.

2. Go to Settings:
In the upper-right corner of any page, click your profile photo, then click Settings.
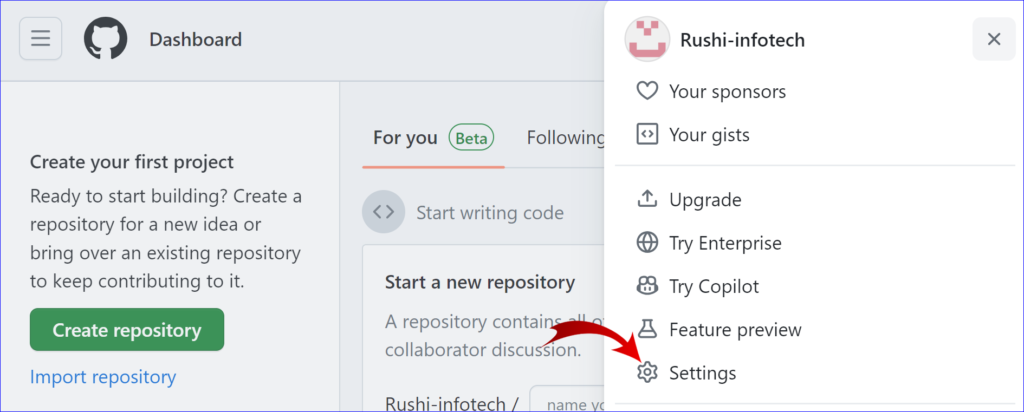
3. Go to Developer settings:
In the left sidebar, click Developer settings.

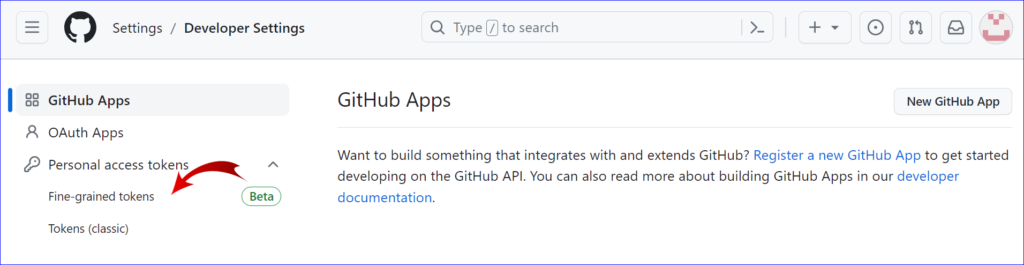
4. Go to Personal access tokens:
In the left sidebar, click Personal access tokens.
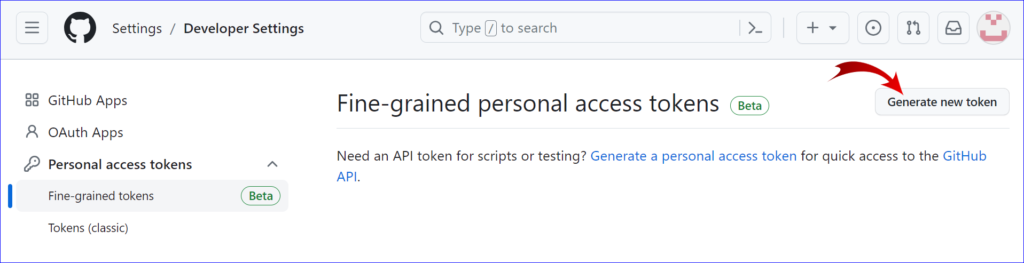
5. Generate New Token:
Click Generate new token.
6. Fill out the Form:
Give your token a descriptive name.
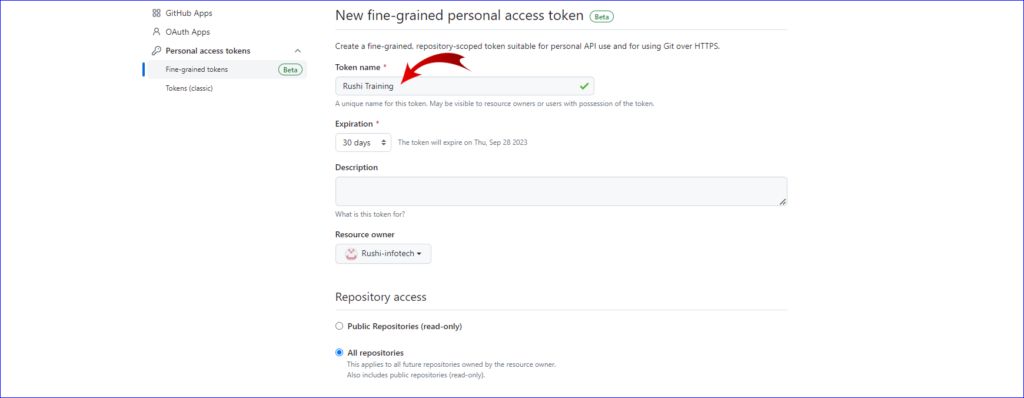
Select the scopes or permissions you’d like to grant this token. To use your token to access repositories from the command line, select repo. For creating a repository via Terraform, you will need the following scopes: repo, admin:org.

Click Generate token.
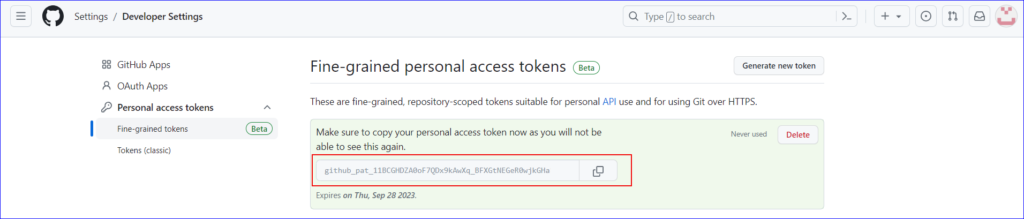
7. Copy the Token:
After clicking Generate token, make sure to copy the token. You won’t be able to see it again!
8. Store the Token Safely:
Save the token somewhere safe. If you lose it, you will need to create a new one.
Remember to keep your tokens secret and safe, as they are like passwords. Do not share your token with anyone.
