Introduction
Learn to create an RDS instance using phpMyAdmin: First, provision your RDS instance through the AWS Management Console. Next, install phpMyAdmin on a web server. Then, configure phpMyAdmin to connect to your RDS instance by editing its configuration file. Finally, access phpMyAdmin through your web browser to manage your RDS instance seamlessly.
Prerequisites
- An active AWS account with access to the RDS service.
- Basic understanding of AWS Management Console navigation.
- A web server with phpMyAdmin installed and accessible.
Steps to Connect to an RDS instance using phpmyadmin
1.Create RDS Instance: First of all you need to have an rds instance running in your aws account if you are not created follow the steps to create an RDS instance
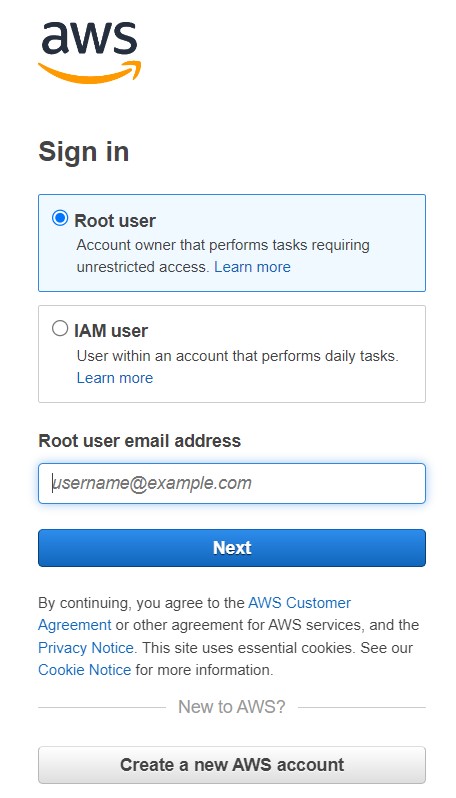
1.1. Login to your aws account.
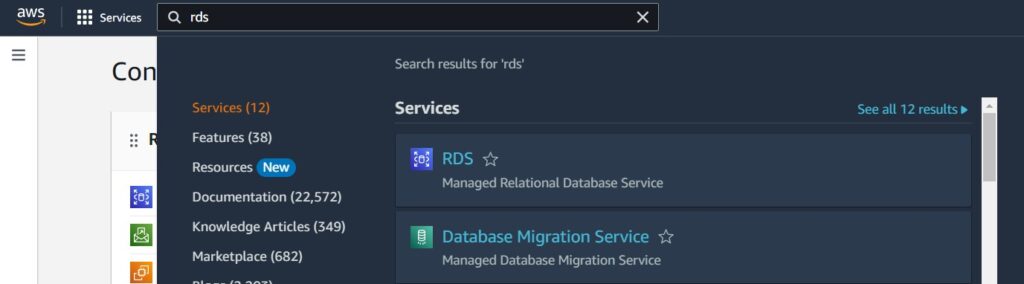
1.2.Type rds in your aws console and select RDS.
1.3. Click on DB instances

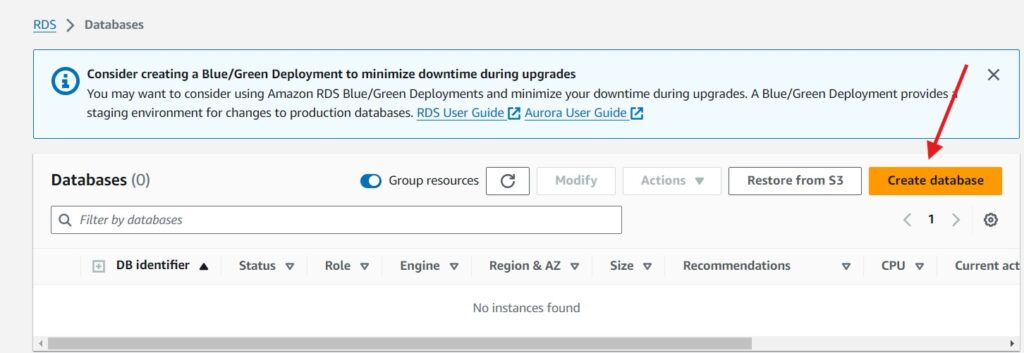
1.4. Click on create database.
1.5. Configure the RDS Instance as per your recquirement and click on create

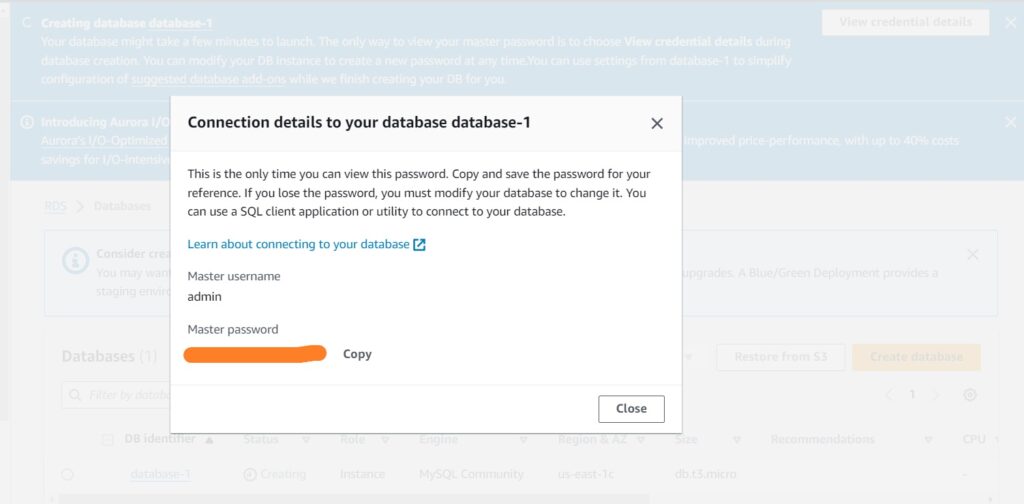
1.6. Once the RDS is created do not forget to note down the credentials like username and password (in case if you selected auto generate password) on the top right corner.
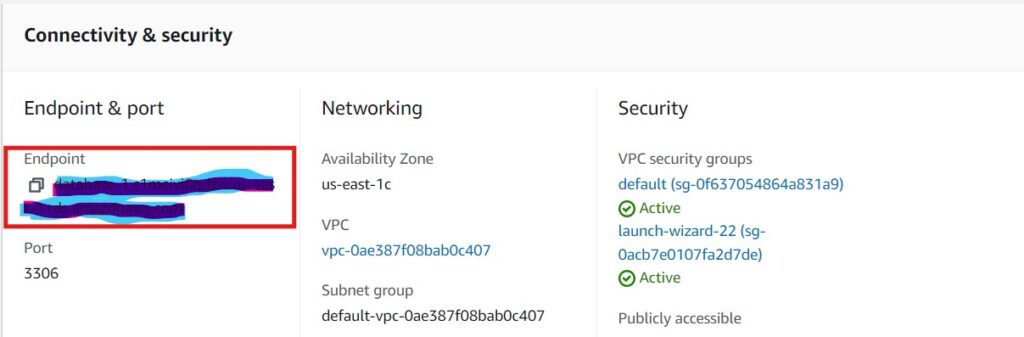
1.7. Finally you have username and password of your DB Instance and you recquired only one thing that is Endpoint URL click on the database that you created and note the Endpoint URL
2.Access phpMyAdmin: Make sure you have phpMyAdmin installed in your server if not follow the link below to install phpmyadmin, after installing phpmyadmin on your server you can typically access it through a web browser by navigating to its URL.
- How to install phpmyadmin on ubuntu 20.04/22.04
- You can access phpmyadmin through the URL https://your_ip_address/phpmyadmin
3.Locate Configuration File: Locate the configuration file of phpMyAdmin. This file is usually named config.inc.php and is located in the phpMyAdmin installation directory.
ubuntu@Rushi-InfoTech:~$cd /etc/phpmyadmin

ubuntu@Rushi-InfoTech:~$ls

4.Edit Configuration File: Open config.inc.php in nano editor and add the configuration details for your RDS instance, edit the config.inc.php file by using the command nano config.inc.php and add this code at the bottom.
/* Authentication type and info */
$cfg['Servers'][$i]['auth_type'] = 'cookie';
$cfg['Servers'][$i]['user'] = 'admin';
$cfg['Servers'][$i]['password'] = 'VvVqSNp26zGcIp1dv0mi';
$cfg['Servers'][$i]['extension'] = 'mysqli';
$cfg['Servers'][$i]['AllowNoPassword'] = true;
Replace ‘localhost’, ‘username’, ‘password’, etc. with the appropriate values for your RDS instance.
ubuntu@Rushi-InfoTech:~$sudo vi /etc/phpmyadmin/config.inc.php

5.Save and Close the File: Save the changes you made to config.inc.php and close the file.
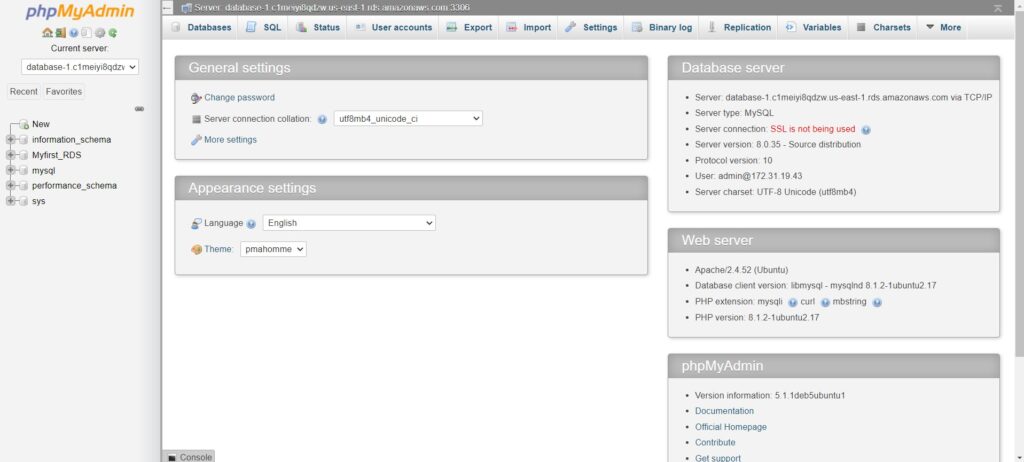
6.Access phpMyAdmin: Go back to your phpMyAdmin interface via the web browser. You should now see an option to select the server you just configured. Select it, and you should be connected to your RDS instance.

7.Explore and Manage: Once connected, you can now explore and manage your databases through phpMyAdmin.
Remember to secure your config.inc.php file properly, as it contains sensitive information like database passwords. Make sure it’s not accessible to unauthorized users.
Conclusion
In conclusion, setting up an RDS instance using phpMyAdmin offers a straightforward way to manage your database in the cloud. By following the steps outlined, you can efficiently provision your RDS instance through the AWS Management Console, configure phpMyAdmin to connect to it, and seamlessly manage your database through a user-friendly interface. With this approach, you can leverage the power of AWS RDS alongside the convenience of phpMyAdmin for effective database administration.
For any queries contact us: https://rushiinfotech.in/contact/
Visit the Official website of phpmyadmin