In this article we are going to learn the steps to Install phpMyAdmin on Ubuntu server.
What is phpMyAdmin?
phpMyAdmin is a free and open-source web-based tool for managing and administering MySQL and MariaDB databases. It provides a user-friendly interface to perform tasks like creating, modifying, and querying databases, making it easier for developers and administrators to work with database systems. Users can interact with their databases through a web browser, making it a convenient choice for database management tasks.
Prerequisites
- 20.04/22.04 LTS Ubuntu server
- MySQL installed on Ubuntu 20.04/22.04 LTS
- A user account with root or sudo privileges.
- Firewalld installed on Ubuntu server, If not please follow the below command to install.
sudo apt install firewalld
Steps to Install phpMyAdmin on Ubuntu 20.04/22.04 LTS
Let’s start the steps to install the phpMyAdmin on Ubuntu server. So please follow the steps to install in smooth way.
Step #1: Install Apache and PHP
- We are assuming you already have installed the MySQL server on ubuntu system. So just install the other required packages to run and access phpMyAdmin.
sudo apt install apache2 wget unzip

sudo apt install php php-zip php-json php-mbstring php-mysql

- Once the installation is finished, enable and start the Apache web server.
sudo systemctl enable apache2

sudo systemctl start apache2

sudo systemctl status apache2

The apache2 is running in the server.
Step #2: Install phpMyAdmin on Ubuntu 20.04/22.04 LTS
Your system is ready for the phpMyAdmin installation. Download the latest phpMyAdmin archive from the official page, or use the below commands to download phpMyAdmin 5.2 on your system. Once the downloading is finished, extract the archive and move it to the proper location.
wget https://files.phpmyadmin.net/phpMyAdmin/5.2.0/phpMyAdmin-5.2.0-all-languages.zip

unzip phpMyAdmin-5.2.0-all-languages.zip

sudo mv phpMyAdmin-5.2.0-all-languages /usr/share/phpmyadmin

- Next, create tmp directory and set the proper permissions. This is a necessary step to make it work properly.
sudo mkdir /usr/share/phpmyadmin/tmp

sudo chown -R www-data:www-data /usr/share/phpmyadmin

sudo chmod 777 /usr/share/phpmyadmin/tmp

Step #3: Configure phpMyAdmin
Now, you need to configure the webserver to serve phpMyAdmin on the network. Create an Apache configuration file for phpMyAdmin and edit it in a text editor:
sudo vi /etc/apache2/conf-available/phpmyadmin.conf

- add the below content to the file.
Alias /phpmyadmin /usr/share/phpmyadmin
Alias /phpMyAdmin /usr/share/phpmyadmin

<Directory /usr/share/phpmyadmin/>
   AddDefaultCharset UTF-8
   <IfModule mod_authz_core.c>
      <RequireAny>
      Require all granted
     </RequireAny>
   </IfModule>
</Directory>

<Directory /usr/share/phpmyadmin/setup/>
   <IfModule mod_authz_core.c>
     <RequireAny>
       Require all granted
     </RequireAny>
   </IfModule>
</Directory>
Save your file. Press ESC key to switch to command more. Then type ‘:wq’ (colon+w+q) and hit Enter button.
After making all the changes, make sure to start the Apache service to reload all settings.
sudo a2enconf phpmyadmin

sudo systemctl restart apache2

Step #4: Adjusting FirewallD
- The systems with enabled firewalls need to allow HTTP service from the firewall. Run the below commands to open a port for the webserver in the firewall.
sudo firewall-cmd --permanent --add-service=http
sudo firewall-cmd --reload

Step #5: Create a MySQL Database and User
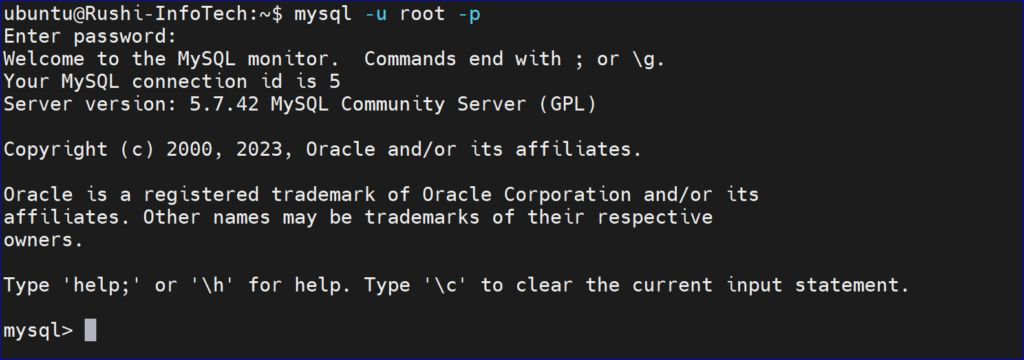
- Connect to the MySQL server running on your system.
mysql -u root -p
Execute the following MySQL queries one by one to create a database and user. Also, assign the privileges to the user on the database.
mysql> CREATE DATABASE Rushiinfotech;

mysql> CREATE USER 'Rushiinfotech'@'localhost' IDENTIFIED BY 'Rushi@123';

mysql> GRANT ALL ON Rushiinfotech.* TO 'Rushiinfotech'@'localhost';

mysql> FLUSH PRIVILEGES;

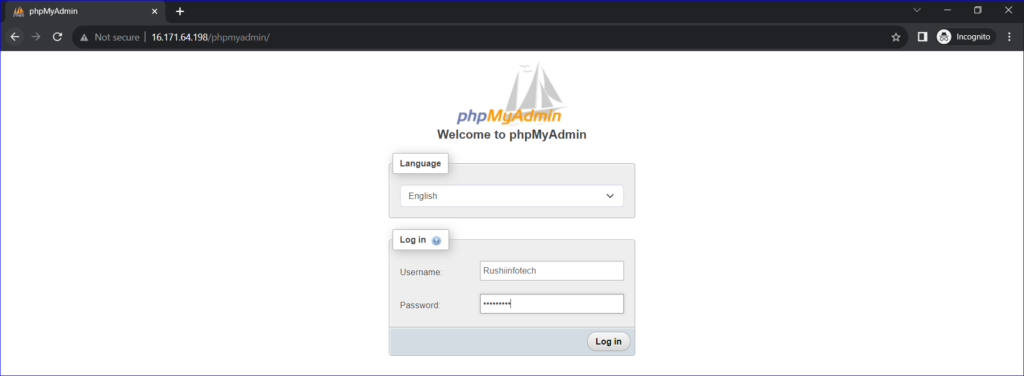
Step #6: Access phpMyAdmin
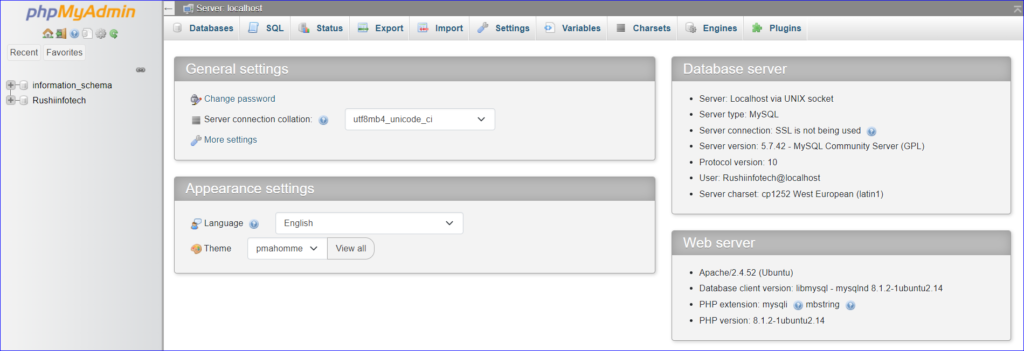
All done. You have finished the setup with the phpMyAdmin on the Ubuntu Linux system. Now access phpMyAdmin with the server IP address or domain name.
http://your-server-ip-domain/phpmyadmin
Replace your-server-ip-domain with the localhost (for the local machines), or system IP address for remote machines. I have updated our DNS and pointed dbhost.tecadmin.net to the server’s IP address.
Log in with the username and password used to access MySQL on the command line.
Conclusion
Installing phpMyAdmin on Ubuntu 20.04 or 22.04 LTS is a straightforward process that allows you to easily manage your MySQL or MariaDB databases through a user-friendly web interface. By following the steps outlined in the tutorial, you can quickly set up phpMyAdmin and access its powerful features for database administration.
Reference:
Please visit the official website of phpMyAdmin
Any queries pls contact @Rushi-InfoTech