In this Article we are going to learn Installation Guide: “MySQL 5.7 on Ubuntu 20.04/22.04 LTS” using command line, creating new user and enabled remote access in MySQL 5.7.
Introduction:
MySQL 5.7 is a robust and widely used relational database management system that continues to power many web applications and services. If you’re using Ubuntu 20.04/22.04 and need to set up MySQL 5.7 for your project, this guide will walk you through the installation process, enabling you to harness the power of this trusted database system.
Steps of MySQL 5.7 on Ubuntu 20.04/22.04 LTS
Let’s see the guide to Install MySQL 5.7 on Ubuntu 20.04/22.04 LTS.
Step #1:Add MySQL APT Repository
Download the MySQL repository by executing the following command
- Update the system Packages:
ubuntu@Rushi-InfoTech:~$ sudo apt-get update

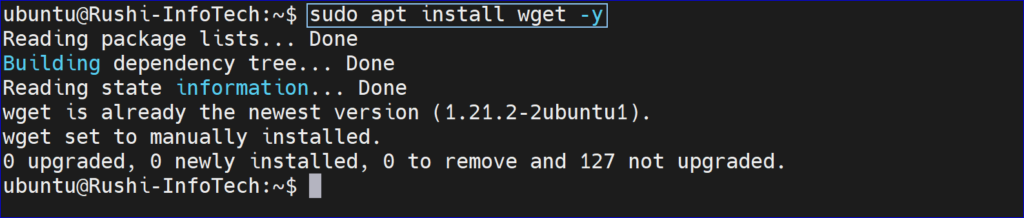
- We need to Install wget using below command:
ubuntu@Rushi-InfoTech:~$ sudo apt install wget -y
- Download the repository using the below command:
ubuntu@Rushi-InfoTech:~$ wget https://dev.mysql.com/get/mysql-apt-config_0.8.17-1_all.deb

- Once downloaded install repository using below command:
ubuntu@Rushi-InfoTech:~$ sudo dpkg -i mysql-apt-config_0.8.17-1_all.deb

- In the prompt, choose Ubuntu Bionic and click Ok

- The next prompt shows MySQL 8.0 chosen by default. Choose the first option and click OK
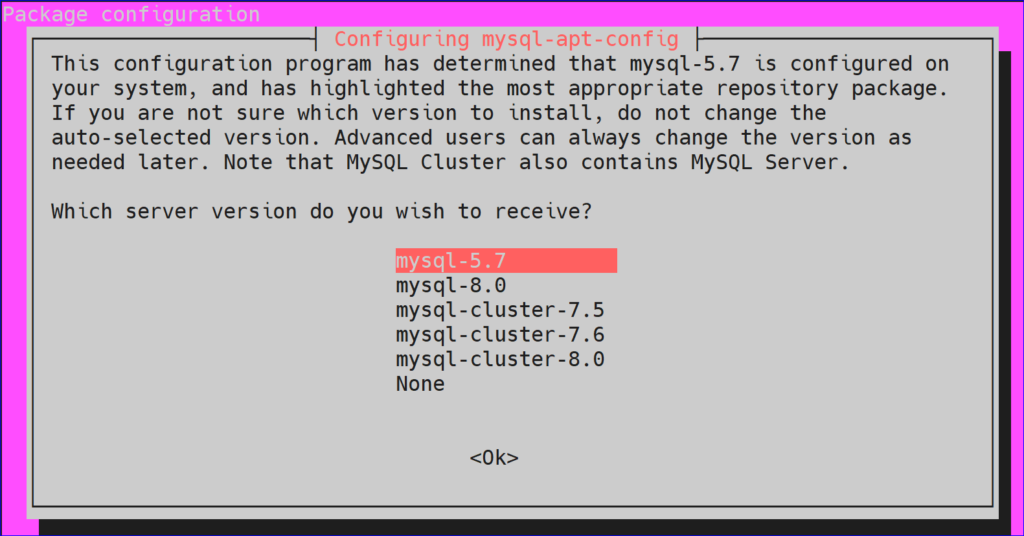
- In the next prompt, select MySQL 5.7 server and click OK.

- The next prompt selects MySQL5.7 by default. Choose the last option Ok and click OK

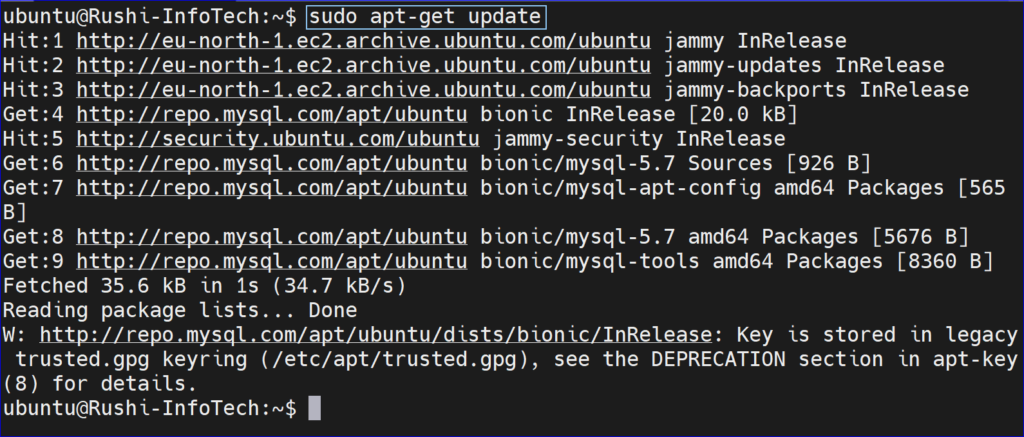
Step #2:Update MySQL Repository
Update your system package:
ubuntu@Rushi-InfoTech:~$ sudo apt-get update

Let’s search for MySQL 5,7 using below command:
ubuntu@Rushi-InfoTech:~$ sudo apt-cache policy mysql-server
Step #3: Install MySQL 5.7 on Ubuntu 20.04/22.04 LTS
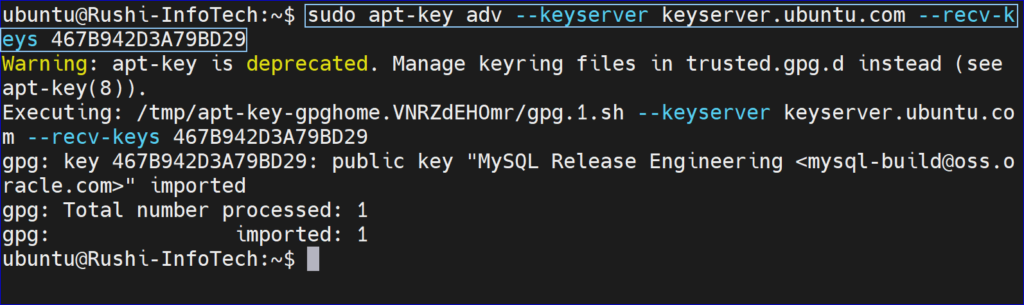
Before Installing MySQL 5.7 you need to run this command:
ubuntu@Rushi-InfoTech:~$ sudo apt-key adv --keyserver keyserver.ubuntu.com --recv-keys 467B942D3A79BD29
ubuntu@Rushi-InfoTech:~$ sudo apt-get update
we are going to install MySQL 5.7 client, MySQL 5.7 server with the below command:
ubuntu@Rushi-InfoTech:~$ sudo apt install -f mysql-client=5.7* mysql-community-server=5.7* mysql-server=5.7*
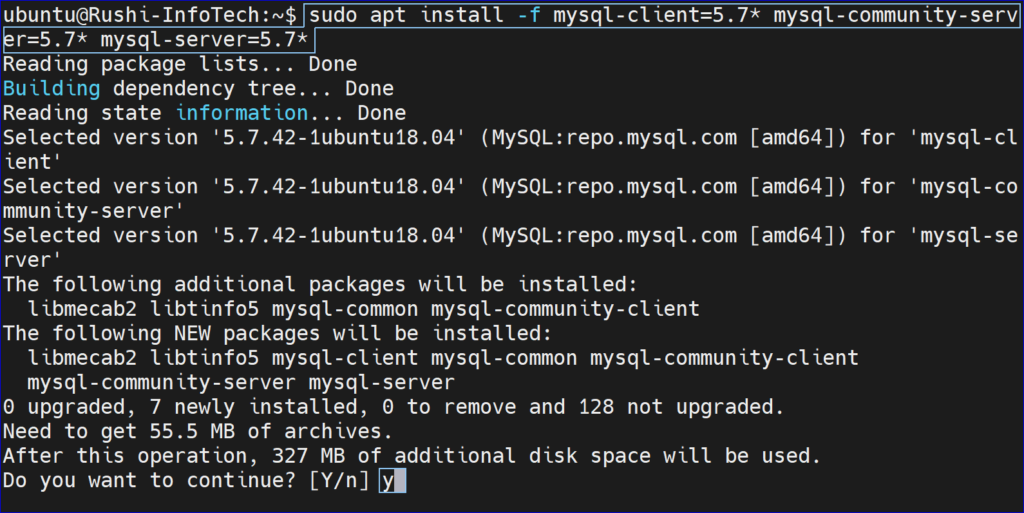
Hit the “y” key to start installation of MySQL 5.7 on Ubuntu 20.04/22.04 LTS
Enter and re-enter root password:

Step #4: Secure MySQL 5.7 Installation on Ubuntu 20.04/22.04LTS
Run the following commands
ubuntu@Rushi-InfoTech:~$ sudo mysql_secure_installation

Provide the root password set above and you will have output like this:
ubuntu@Rushi-InfoTech:~$ sudo mysql_secure_installation

Securing the MySQL server deployment.

Enter password for user root:

VALIDATE PASSWORD PLUGIN can be used to test passwords
and improve security. It checks the strength of password
and allows the users to set only those passwords which are
secure enough. Would you like to setup VALIDATE PASSWORD plugin?

Press y|Y for Yes, any other key for No: y

There are three levels of password validation policy:

LOW    Length >= 8
MEDIUM Length >= 8, numeric, mixed case, and special characters
STRONG Length >= 8, numeric, mixed case, special characters and dictionary                  file

Please enter 0 = LOW, 1 = MEDIUM and 2 = STRONG: 2
Using existing password for root.

Estimated strength of the password: 100
Change the password for root ? ((Press y|Y for Yes, any other key for No) : n

 ... skipping.
By default, a MySQL installation has an anonymous user,
allowing anyone to log into MySQL without having to have
a user account created for them. This is intended only for
testing, and to make the installation go a bit smoother.
You should remove them before moving into a production
environment.

Remove anonymous users? (Press y|Y for Yes, any other key for No) : y
Success.


Normally, root should only be allowed to connect from
'localhost'. This ensures that someone cannot guess at
the root password from the network.

Disallow root login remotely? (Press y|Y for Yes, any other key for No) : y
Success.

By default, MySQL comes with a database named 'test' that
anyone can access. This is also intended only for testing,
and should be removed before moving into a production
environment.


Remove test database and access to it? (Press y|Y for Yes, any other key for No) : y
 - Dropping test database...
Success.

 - Removing privileges on test database...
Success.

Reloading the privilege tables will ensure that all changes
made so far will take effect immediately.

Reload privilege tables now? (Press y|Y for Yes, any other key for No) : y
Success.

All done!
Step #5: Check MySQL 5.7 version
To confirm the installed version,Login to MySQL 5.7 Server using the below command.
ubuntu@Rushi-InfoTech:~$ mysql -u root -p

Check the version using below command:
mysql> SELECT VERSION();
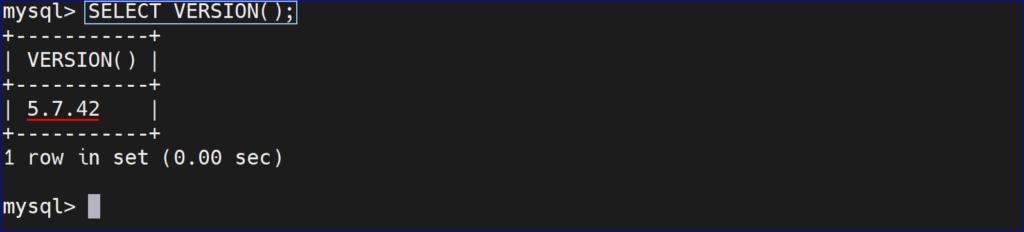
Here we have covered Install MySQL 5.7 on Ubuntu 20.04/22.04 LTS.
Step #6: Create MySQL User
Let’s create user using below command
mysql> CREATE USER 'rushiinfotech'@'%' IDENTIFIED BY 'Devops@123';

Here we can see the list of users.
mysql> SELECT USER FROM mysql.user;

To Exit from the mysql database to Ubuntu Server:
mysql> \q

Step #7: Enable MySQL remote access
By default, In MySQL database server remote access is disabled for security reason.
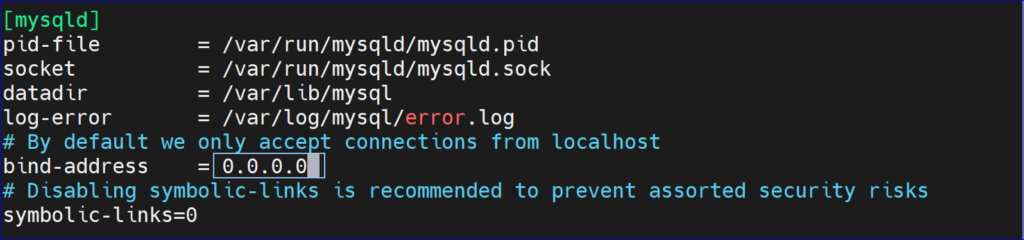
To enable remote connections of MySQL Server, we have to change bind-address in MySQL configuration file.
Open the /etc/mysql/mysql.conf.d/mysqld.cnf file
ubuntu@Rushi-InfoTech:~$ sudo nano /etc/mysql/mysql.conf.d/mysqld.cnf

- We need to change the “blind-address = 0.0.0.0”
Save the file and restart mysql
ubuntu@Rushi-InfoTech:~$ sudo systemctl restart mysql

To Restart, Stop and check the Status run the below commands:
ubuntu@Rushi-InfoTech:~$ sudo systemctl restart mysql
ubuntu@Rushi-InfoTech:~$ sudo systemctl stop mysql
ubuntu@Rushi-InfoTech:~$ sudo systemctl status mysql
Conclusion:
By following this guide, you’ve successfully installed “MySQL 5.7 on Ubuntu 20.04/22.04 LTS”, laying the foundation for building and managing your databases. MySQL is a versatile and powerful relational database management system trusted by developers and organizations worldwide. It’s now up to you to leverage MySQL’s capabilities to support your applications and data-driven projects. In this article, We have performed ,How to Install MySQL 5.7 on Ubuntu 20.04/22.04 LTS System, creating new user and enabled remote access in MySQL 5.7.
Refrence:
For reference of MySQL, please visit official website.
Any queries pls contact us
https://rushiinfotech.in/contact/