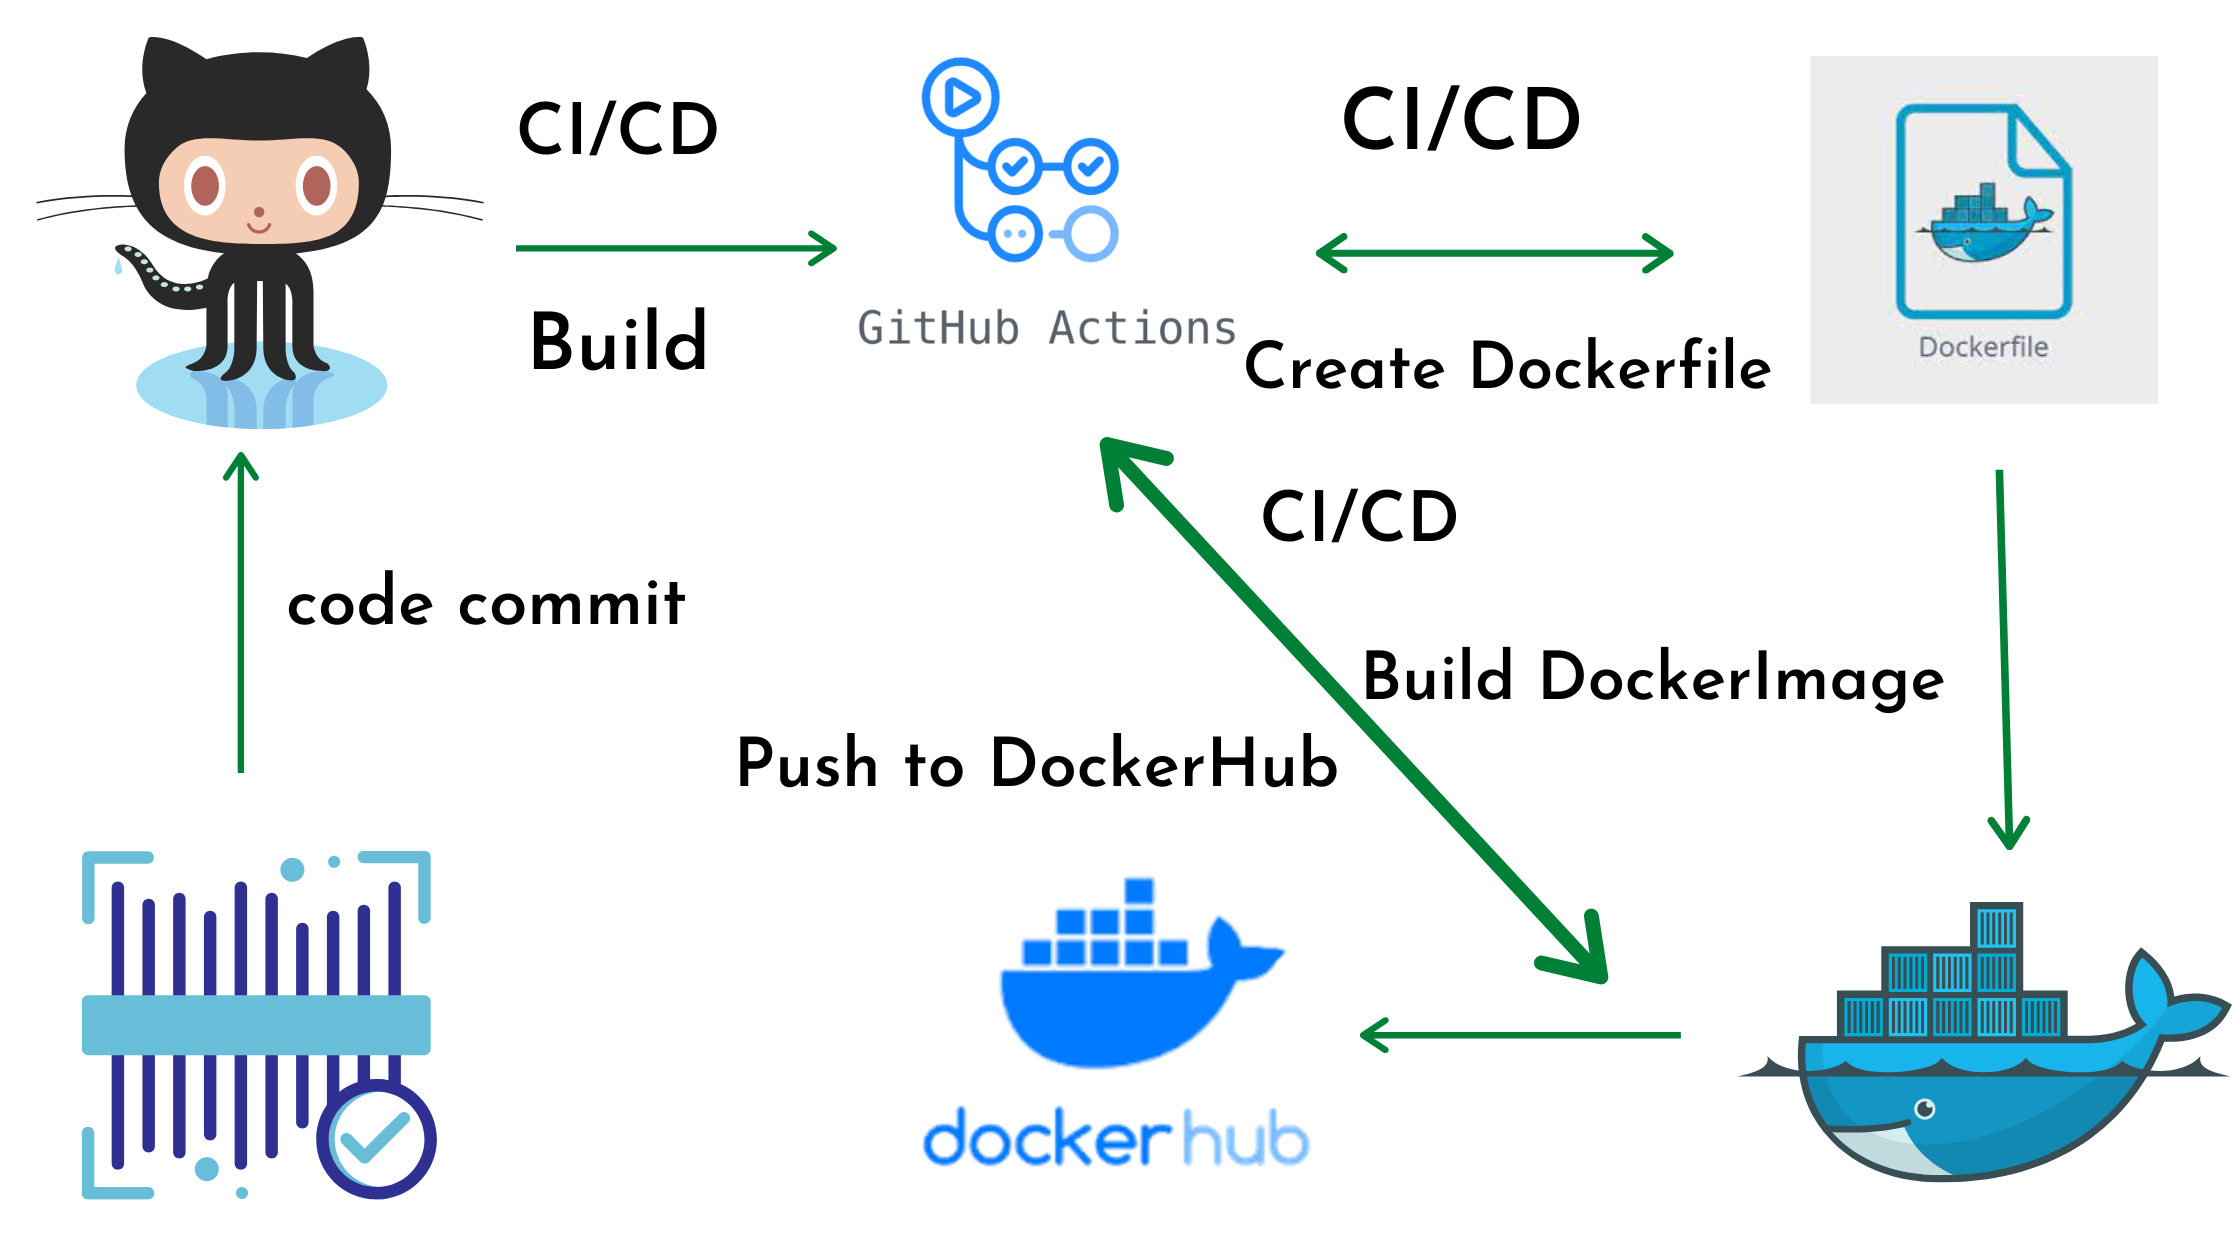
In this article we are going to cover What is Git, What is GitHub?, How to Push code to GitHub, Connect Your Local Project to Your GitHub Repository and Create Personal Access Token in GitHub.

What is Git ?

  • In simple terms, Git is like a time machine for your computer files, especially for software code.
  • It helps you keep track of changes you make to your files and lets you work on different versions of your project at the same time.
  • It’s great for teamwork, as it allows multiple people to work on the same project without messing things up.
  • You can also easily undo mistakes and see who did what in your project’s history.
  • Git is a tool that helps developers manage and collaborate on their code.

What is GitHub?

GitHub, in simple terms, is like a place on the internet where people store and share their code. It’s a website that makes it easy for developers to work together on software projects. You can think of it as a social network for programmers and a handy toolbox for managing and collaborating on code. It helps people and teams work together to build and improve software.

How to Push code to GitHub?

To push code to GitHub, you need to use Git, a distributed version control system. Here’s a step-by-step guide to pushing your code to GitHub:

1.Install Git on Linux/Windows OS

  • If you don’t have Git installed, you’ll need to install it.
  • If you don’t have a GitHub account, you’ll need to create one.

Learn Few New Terminologies:

Command Explanation
git initGit that is used to initialize a new Git repository in a directory.
touchcreate empty files
lslist the files and directories in the current directory
DirectoriesDirectories are also known as folders

Steps To Push Code from Local to Github

Use the below steps to push code from your local to Github:

echo "# lab1" >> README.md
git init
git add README.md
git commit -m "first commit"
git branch -M main
git remote add origin https://github.com/rushiinfotech369/lab1.git
git push -u origin main

2.Create a New Repository on GitHub

  • After you’re logged in to GitHub, click the + icon in the top right corner and select New repository.
  • Name your repository and add a short description. You can choose to initialize it with a README, .gitignore, or license if you wish. Click Create repository.

3.Connect Your Local Project to Your GitHub Repository

  • Navigate to your local project directory using the terminal (or command prompt).
  • Initialize a Git repository (if you haven’t already) with:
  • Connect your local repository to your GitHub repository with:

Replace [URL_TO_YOUR_GITHUB_REPO] with the URL of your GitHub repository, which will look something like https://github.com/your_username/your_repository_name.git.

4.Add and Commit Changes in Local git repo

  • Add the files in your local repository to staging. To add all files:
  • Commit the staged changes with:

5.Push Your Code to GitHub Repo

  • To push your local commits to the remote repository:
  • If the default branch on GitHub is now named main (as has been the recent trend), then replace master with main.

6.Authentication to GitHub Account from Local

  • Depending on your setup, you might be prompted for your GitHub username and password. Note: If you have two-factor authentication enabled, or if you’re using a personal access token, or if you’re using SSH keys, the process might differ slightly.

7.Future Changes in Git Repo

  • For future changes, you just need to repeat the “Add and Commit Changes” step followed by the git push command to push new commits to GitHub.

GitHub Account troubleshooting:

PAT (Personal Access Token Error)

To generate a personal access token in Git, you typically need to do this through a Git hosting platform like GitHub or GitLab. Below are general steps for generating a personal access token on GitHub, which is a widely used Git hosting service. The process may be slightly different for other Git hosting platforms.

  1. Log in to Your Git Hosting Account: Go to the website of your Git hosting service (e.g., https://github.com) and log in to your account.
  2. Access Your Account Settings: Once logged in, click on your profile picture in the top right corner, and from the dropdown menu, select “Settings.”
  3. Access Developer Settings: In your GitHub settings, on the left sidebar, you will find “Developer settings.” Click on it.
  4. Access Personal Access Tokens: Under the “Access tokens” section, you’ll find an option to create a personal access token. Click on it.
  5. Generate a New Token: To create a new token, click the “Generate token” button.
  6. Configure Token Permissions: You’ll be asked to configure the token’s permissions. You can specify what the token will be used for, such as for accessing repositories, gists, or other features. Be cautious about the permissions you grant, as the token will have the same access as your account.
  7. Generate Token: After specifying permissions, click the “Generate token” button. You’ll be shown the generated token. Important: This token will only be displayed once, so make sure to copy it and store it securely.
  8. Use the Token: You can now use the generated token in your Git client or other applications where authentication is required. When using Git on the command line, you can use the token as your password when prompted for authentication.

Remember that personal access tokens are sensitive information, similar to your password, so keep them secure and do not share them openly. If a token is compromised or no longer needed, you can revoke or regenerate it in your Git hosting platform’s settings.

Conclusion:

Remember, if you encounter any errors, Git usually provides helpful feedback on what went wrong and possible solutions. Always read the error messages carefully.

Related Articles:

The Ultimate Reference for “Managing User” in Linux

Similar Posts

Leave a Reply

Your email address will not be published. Required fields are marked *