In this article we will learn “How to Install MobaXterm in Windows 10 [7 Steps]”. MobaXterm brings all the essential Unix commands to Windows desktop, in a single portable exe file which works out of the box
Introduction:
MobaXterm is a Windows application that combines a fully functional Unix-like terminal emulator with a set of powerful networking tools. It provides an integrated environment for various tasks, including remote server management, system administration, network diagnostics, and software development. Whether you’re a sysadmin, developer, or IT professional, MobaXterm can be an indispensable tool in your toolkit.
Steps of “How to Install MobaXterm in Windows 10 [7 Steps]”:
Installing MobaXterm is a straightforward process. MobaXterm is a popular terminal emulator for Windows that includes various network tools, an X11 server, and many other features. Here’s a step-by-step guide on “How to Install MobaXterm in Windows 10 [7 Steps]”
Step #1:Download MobaXterm
- Visit the official MobaXterm website for Installing MobaXterm in Windows 10.
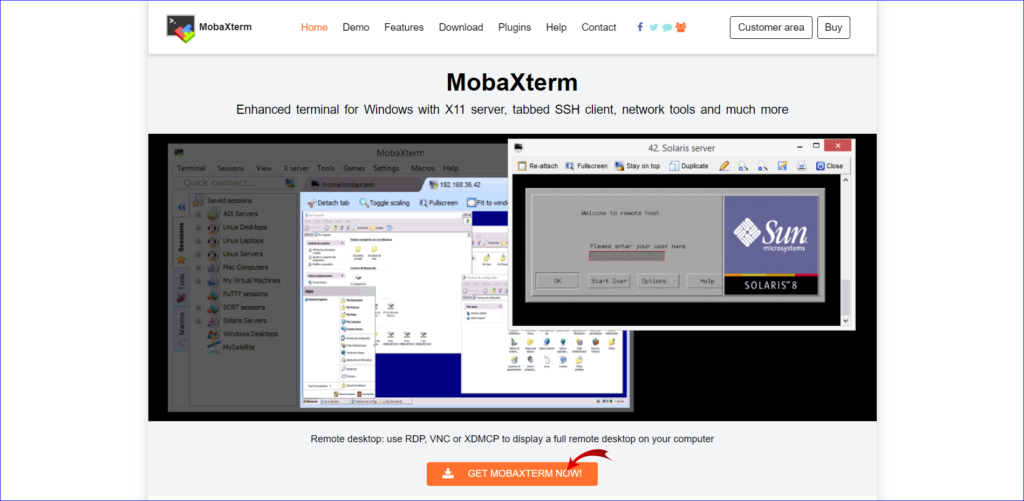
- On the homepage, you’ll find two versions of MobaXterm: Home Edition and Professional Edition. The Home Edition is free for personal use, while the Professional Edition offers additional features and is intended for business use. For personal use, click on the “Download” button under the Home Edition.

Step #2:Choose the Download Location
- After clicking “Download,” you’ll be directed to a download page. Select the “Installer edition” to download the setup executable file.

Step #3:Run the Installer
- Once Downloaded we will get the zip file, then we need to extract the file.

- Once the file got extracted, run it by double-clicking the executable file (e.g.,
MobaXterm_Installer_v21.2.exe). You may be prompted to allow the installer to make changes to your computer—click “Yes” or “Run” to proceed.

Step #4:Installation Wizard
The installation wizard will appear. Follow these steps:
- Click on Next.

- License Agreement: Read and accept the license agreement terms.

- Select Installation Folder: Choose the folder where MobaXterm will be installed. The default location is typically fine, but you can change it if needed.

- Ready to Install: Review your selected settings, and when you’re ready, click the “Install” button.

Step #5:Installation Progress
- The installer will now copy files and install MobaXterm on your computer. This process may take a few moments.

Step #6:Launch MobaXterm
- After the installation is complete, you can choose to run MobaXterm immediately by leaving the “Launch MobaXterm” option checked and clicking the “Finish” button.

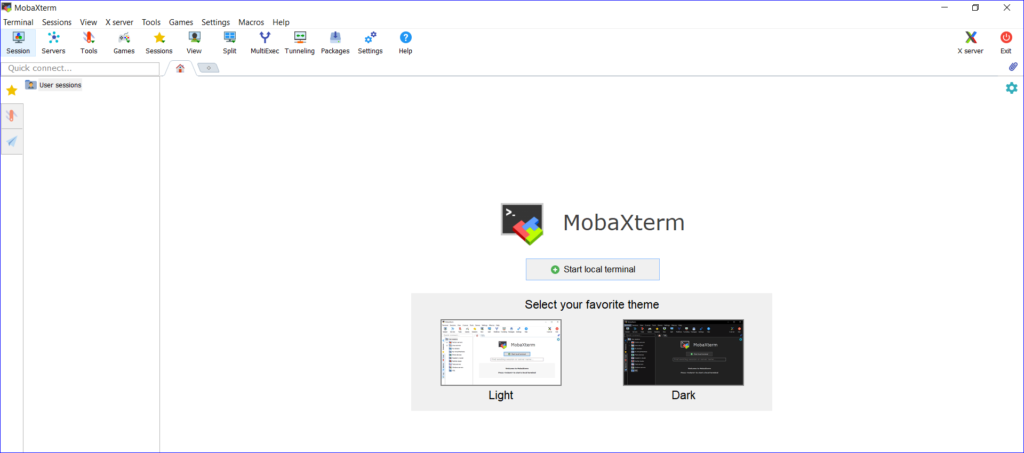
Step #7:First Run
- When MobaXterm starts for the first time, you’ll be presented with the Home Edition configuration wizard. You can choose to configure your settings now or skip the wizard and configure them later. For most users, the default settings are sufficient to get started.
Conclusion:
In this article we have learnt “How to Install MobaXterm in Windows 10 [7 Steps]”. Now we can easily access the MobaXterm in our Windows.
For any queries regarding “How to Install MobaXterm in Windows 10 [7 Steps]“
Any queries pls contact us
https://rushiinfotech.in/contact/