
Installing and setting up a source code editor enhances the coding experience by providing features like syntax highlighting, autocompletion, and integrated terminals. One of the most popular code editors is Visual Studio Code (VSCode), but there are many others like Atom, Sublime Text, and more.
Here’s how to install and set up VSCode, followed by a general process for other editors:
Installing Visual Studio Code (VSCode):
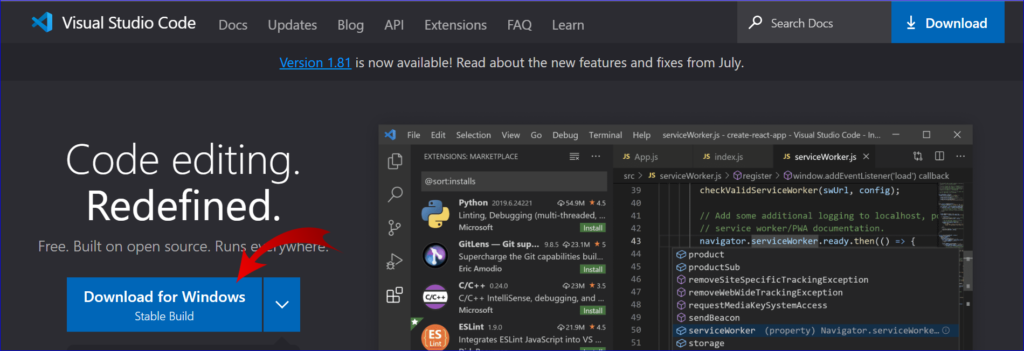
- Download:
- Navigate to the official Visual Studio Code website:
https://code.visualstudio.com/. - Click on the “Download for Windows” button (or appropriate OS button).
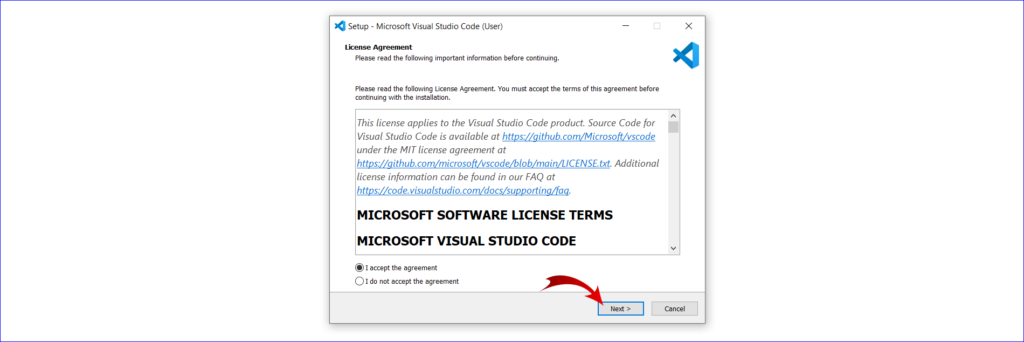
- Install:
- Once the installer is downloaded, run it.
- Follow the installation prompts, which are pretty straightforward. You can choose to add VSCode to your PATH during installation, which is useful for opening it from the command line.
- Initial Setup:
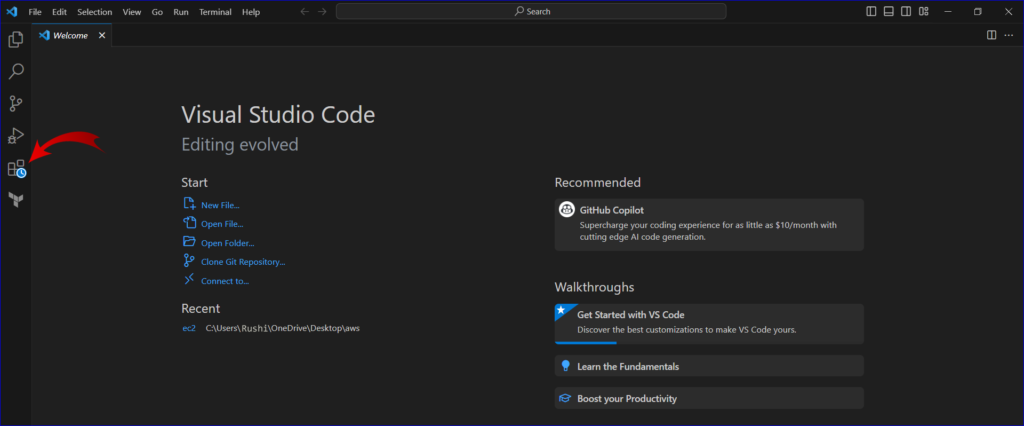
- When you first launch VSCode, you’ll see a welcome screen.
- On the left sidebar, there’s an icon that looks like building blocks, which is the Extensions view. Extensions add useful features to the editor.
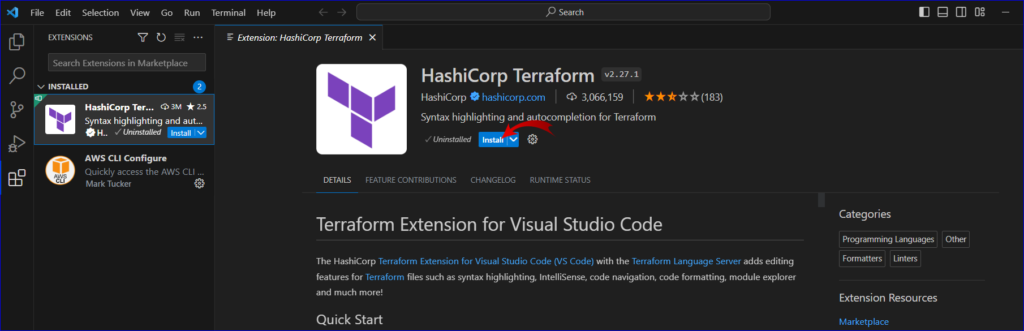
- Installing Extensions:
- Some popular extensions for general development include:
- Python (for Python development)
- ESLint (for JavaScript linting)
- Prettier – Code formatter (automatic code formatting)
- Live Server (launch a local development server with live reload)
- To install an extension, simply search for it in the Extensions view and click “Install.”
2. User Settings:
- You can customize VSCode by clicking on the gear icon in the lower left and choosing “Settings.” This opens a GUI where you can adjust various settings.
- Advanced users might prefer editing the
settings.jsonfile directly for more control.
